

Field Service Management for Jira and JSM · Docs
Project View (Scheduling, Calendar, Routes, Table)
IntroductionThe Field Service Management (FSM) app offers a comprehensive view of visits, accessible through Project Page: Table View, Scheduling View, Cal...
Introduction
The Field Service Management (FSM) app offers a comprehensive view of visits, accessible through Project Page: Table View, Scheduling View, Calendar View, and Map View. Each panel provides unique tools and visualizations to manage visits efficiently.
Views Overview
1. Scheduling View
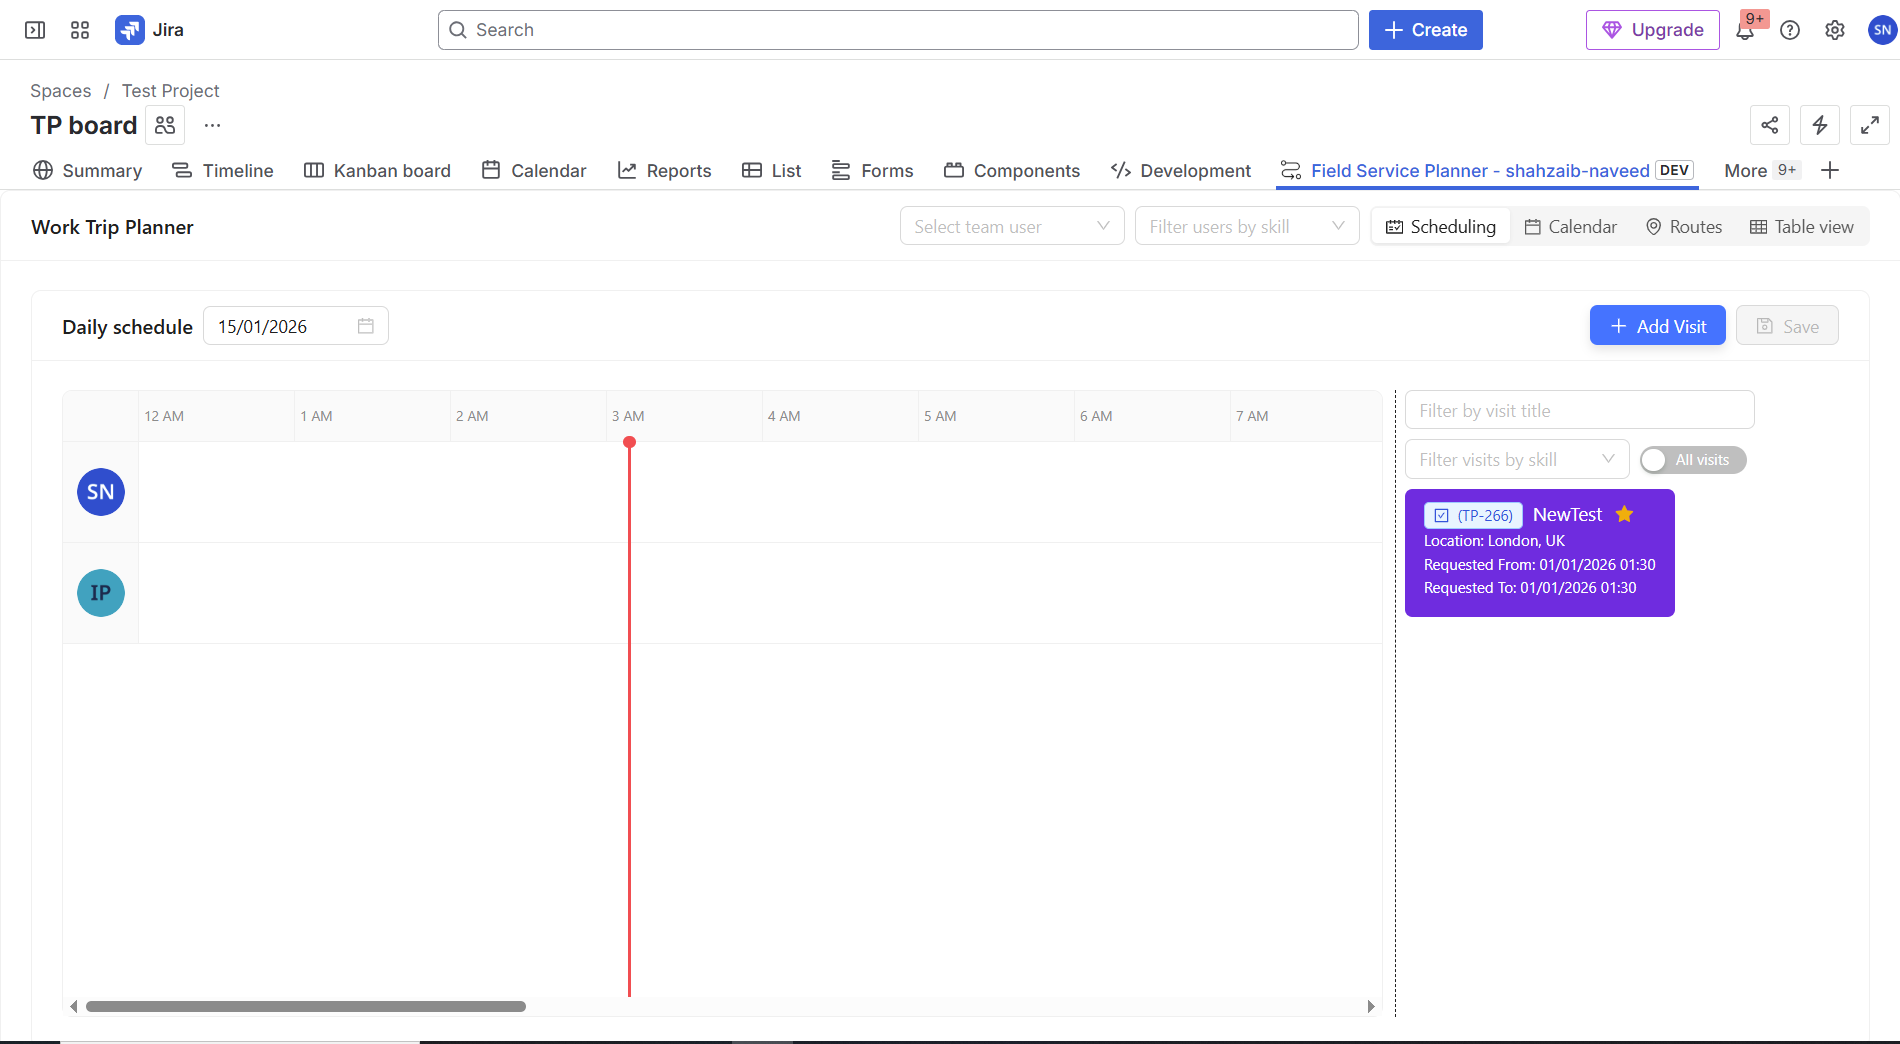
The Scheduling View allows for scheduling unplanned visits and viewing scheduled visits over a timeline.
Features:
Drag and Drop: Easily schedule unplanned visits by dragging and dropping them onto the timeline.
Adjust Timing and Duration: Resize or reposition visit cards to adjust the duration and timing of visits.
Deletion: Remove scheduled visits and return them to the unplanned list using the close icon (X) on the top left corner of the card you wish to remove.
Color-Coded Cards: Scheduled visits are displayed in color-coded cards based on their type, making it easy to identify the nature of the visit at a glance.
Timeline Adjustment: Click on durations “15m” for wider timelines and “30m” for narrower timelines to adjust the length of the timeline.
Date Picker: Select any date using the date picker to view and drag cards on the timeline for the chosen day.
2. Calendar View
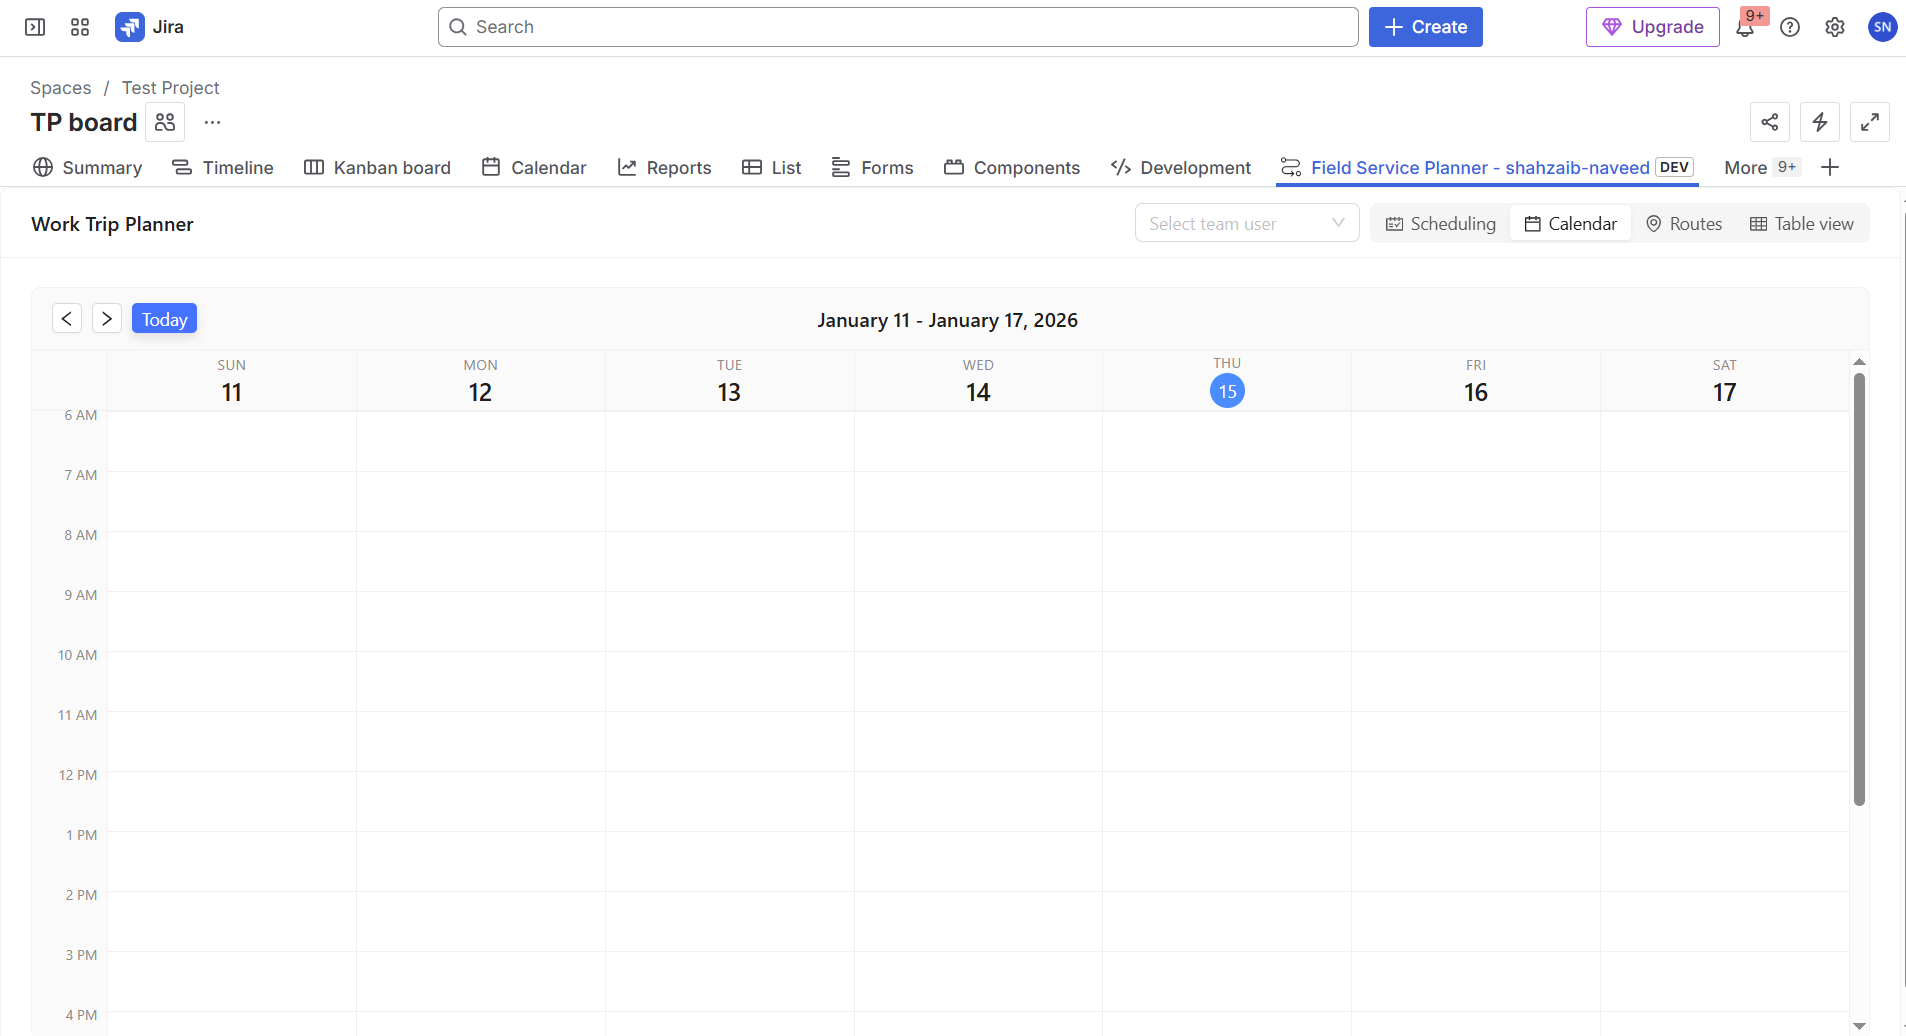
The Calendar View is a read-only representation of the scheduled visits for the week.
Features:
Displays visits over a full week.
Use arrows at the top left to navigate between weeks.
Hover over scheduled visits to see a tooltip with details like:
Type of visit
Time
Title
4. Routes View
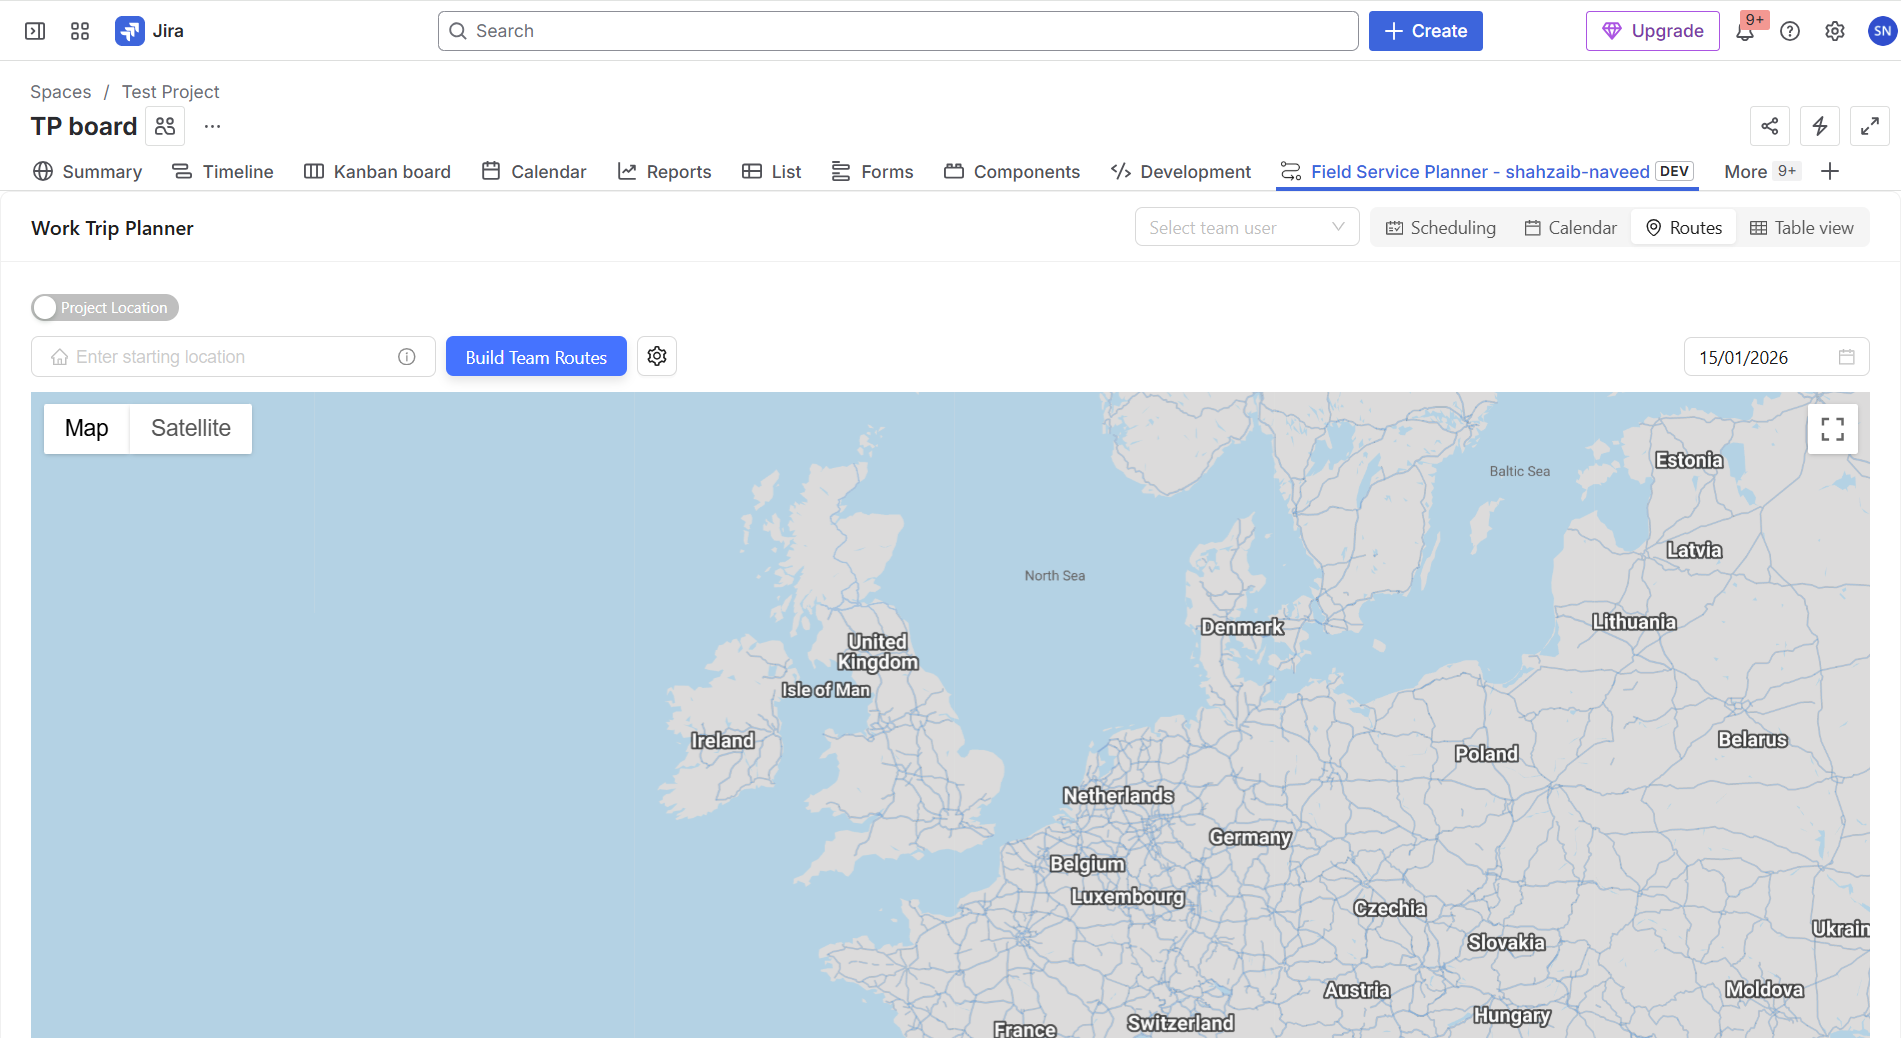
The Routes View helps you visualize and plan travel routes for team visits based on selected filters and starting locations.
Starting Location Selection
At the top of the view, a switch is provided to control the starting location for route calculation.
Project Location (Switch On):
When enabled, the starting point for all routes is set to the project’s default location.
This location is used as the origin for route calculation for all team users.
User Location (Switch On):
When enabled, the starting point for each route is set to the respective user’s default location.
Each team user’s route will begin from their own saved location.
Only one option can be active at a time.
Project Default Location Settings
A Settings (⚙️) icon is available next to the project location option.
Clicking this icon allows you to set or update the project’s default location.
The selected location is saved as the project’s default starting point.
This location is used whenever Project Location is selected as the starting location.
Filters
Date Filter:
Select a date to display only the visits scheduled for that specific day.
Only visit locations matching the selected date will be shown on the map and used for route generation.
Team Users Filter:
You can filter routes by selecting specific team users.
Routes will be created only for the selected users, and other team members will be excluded.
Building Routes
Build Team Routes Button:
Clicking this button generates travel routes for the filtered visits.
Routes are created based on:
Selected starting location (Project or User)
Selected date
Selected team users
Each route includes all visit locations assigned to the respective team user.
Route Results
After routes are built:
Routes are displayed visually on the map for each team user.
The estimated travel time is calculated and shown for every team user.
This helps in understanding travel effort and planning workloads efficiently.
4. Table View
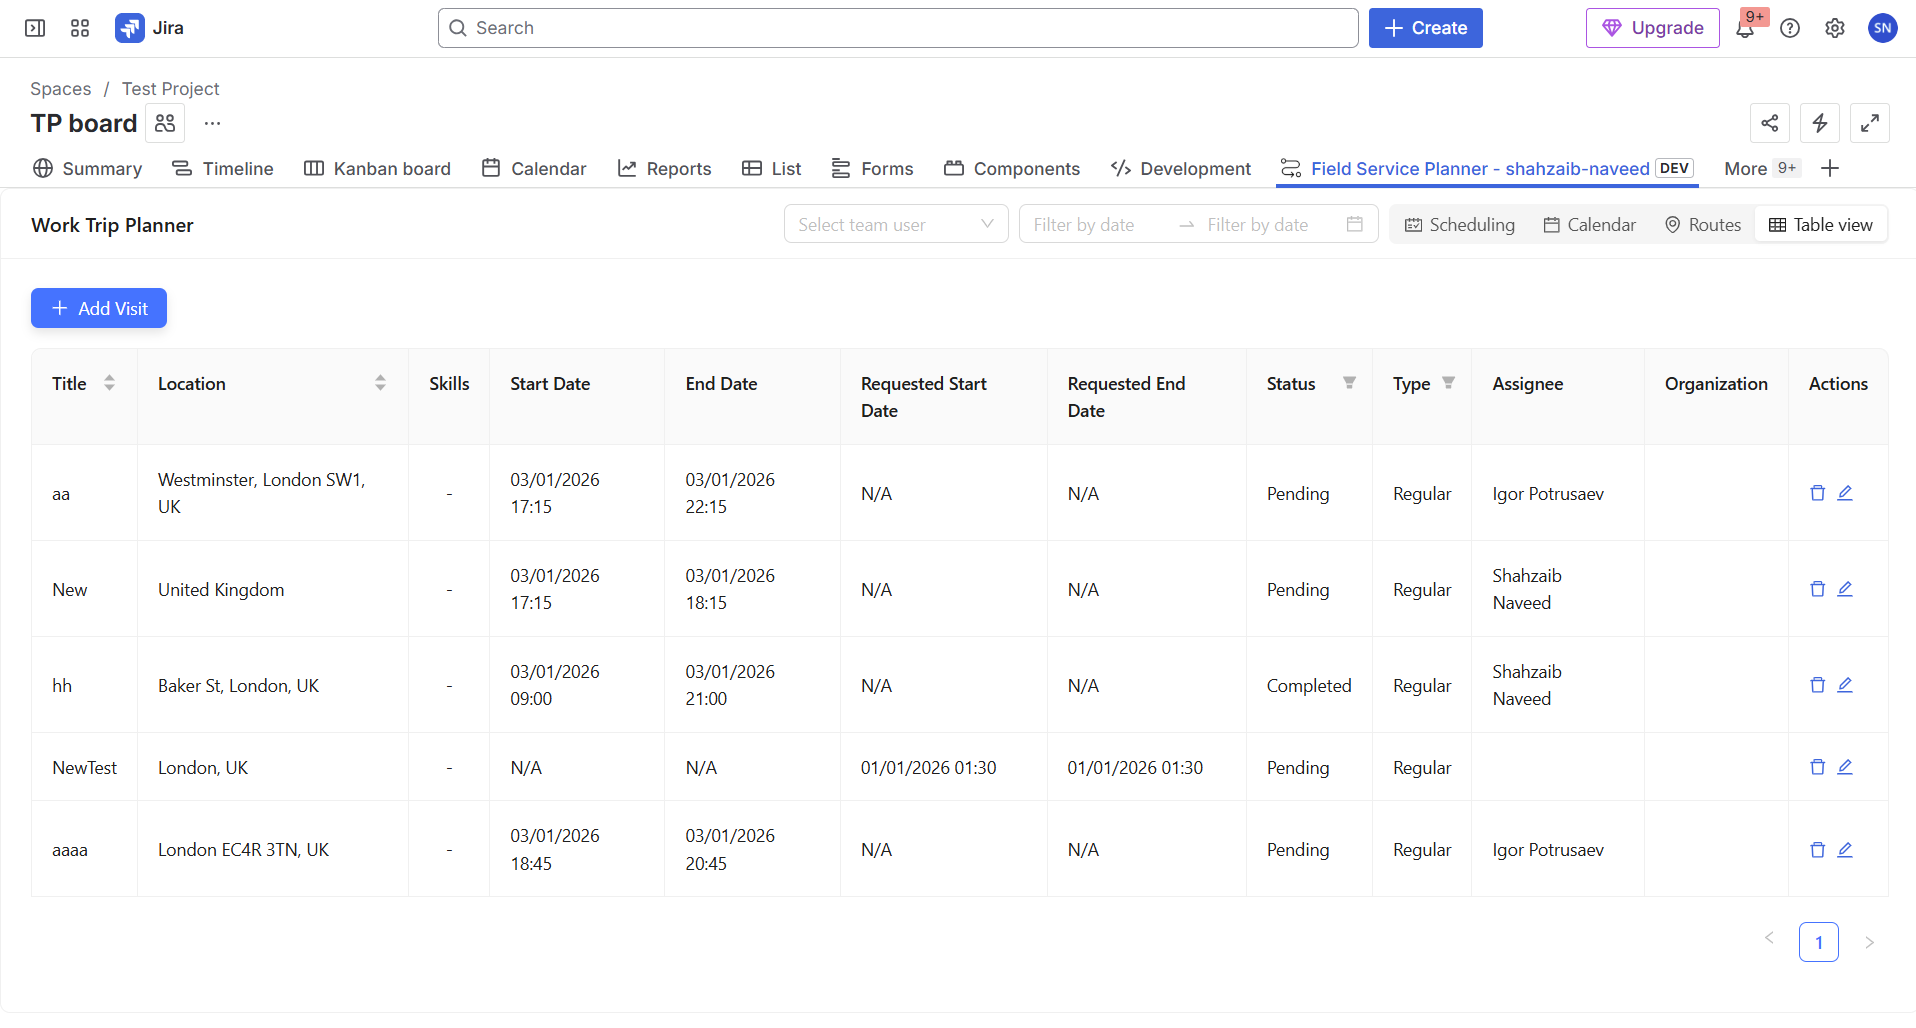
The Table View is the default panel and displays a list of all visits, both scheduled and unscheduled in tabular form.
Features:
Provides a clear, tabular format for viewing all visit details.
Allows editing and deleting visits directly from the table using the pen and bin icons.
You can also add new visits from tabular view by clicking Add Visit button
How to Navigate Between Views
Use the panel navigation buttons at the top of the Project Page to switch between views.
Ensure to save changes in the Schedule View before switching to other panels.
Summary
Efficiently manage visits through the Table View.
Easily schedule and adjust visits in the Scheduling View.
Get a weekly overview of scheduled visits in the Calendar View.
Visualize visit locations and routes with the Routes View.